We’ll explain step by step how to use the Charger Exchange APP:
To LIST AND RENT YOUR CHARGER, to book someone else’s charger, to use the route planner, chat with other users, and more.
Download the APP
The first thing you should do is download the APP from your store (or access it from your web browser):
- Android: https://play.google.com/store/apps/details?id=com.chargerexchange.app.twa
- iOS: https://apps.apple.com/app/charger-exchange/id6670786336
- Web (through your browser): https://app.chargerexchange.com
Register
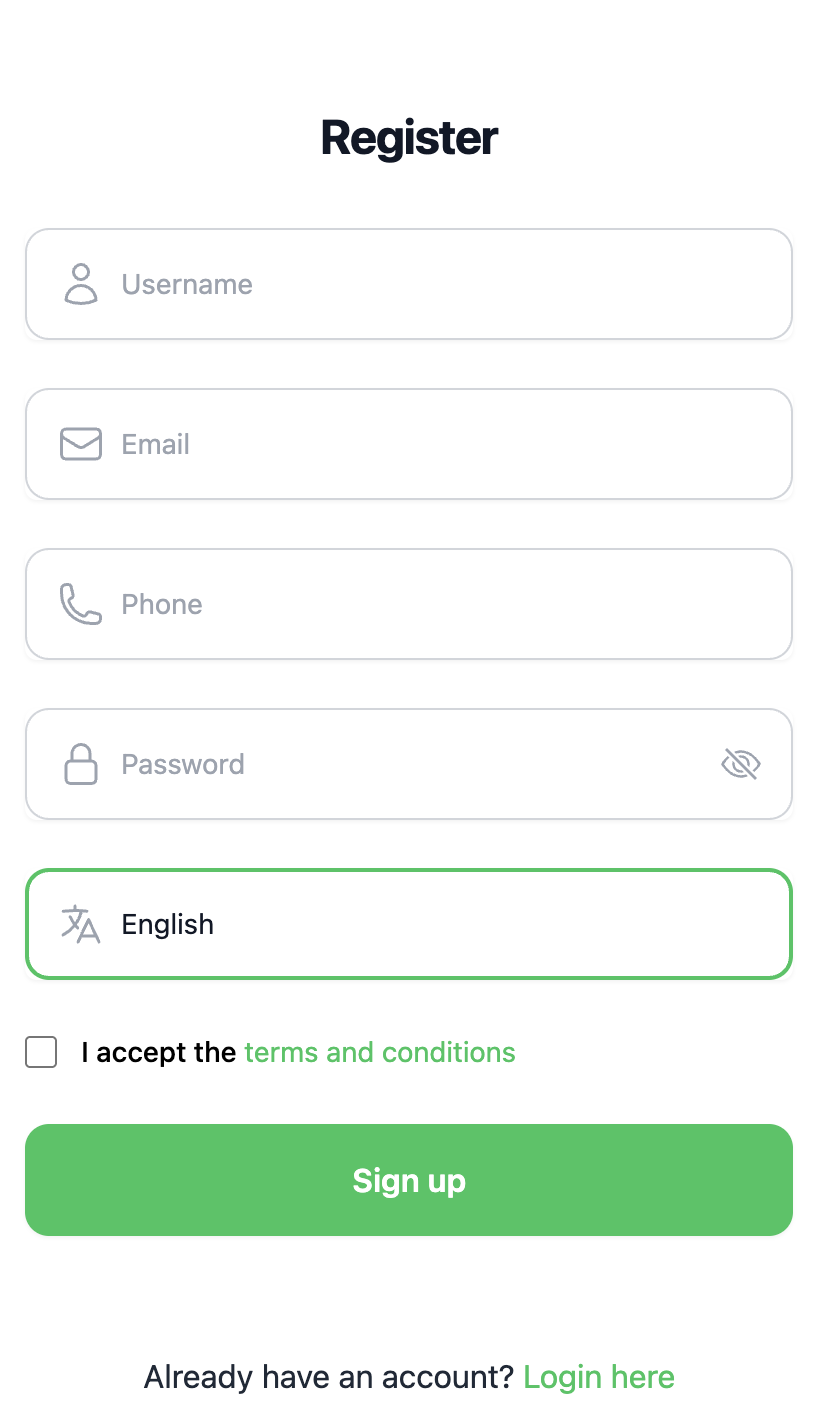
Once downloaded, the next step is to register. Fill in the following information from Don’t have an account yet? Sign up here :
- Enter a username
- Enter your email (this will be your login username)
- Your mobile phone (preferably where you have WhatsApp)
- A strong password (minimum 8 characters)
- The language you prefer (you can choose between Spanish, English, French, German, Italian, Portuguese, Norwegian, Swedish, Icelandic, Finnish, Danish, and Chinese).
- Accept our terms
- Click on Register
- You must enable “Location” on your device or browser to use the app correctly.
Start of the APP
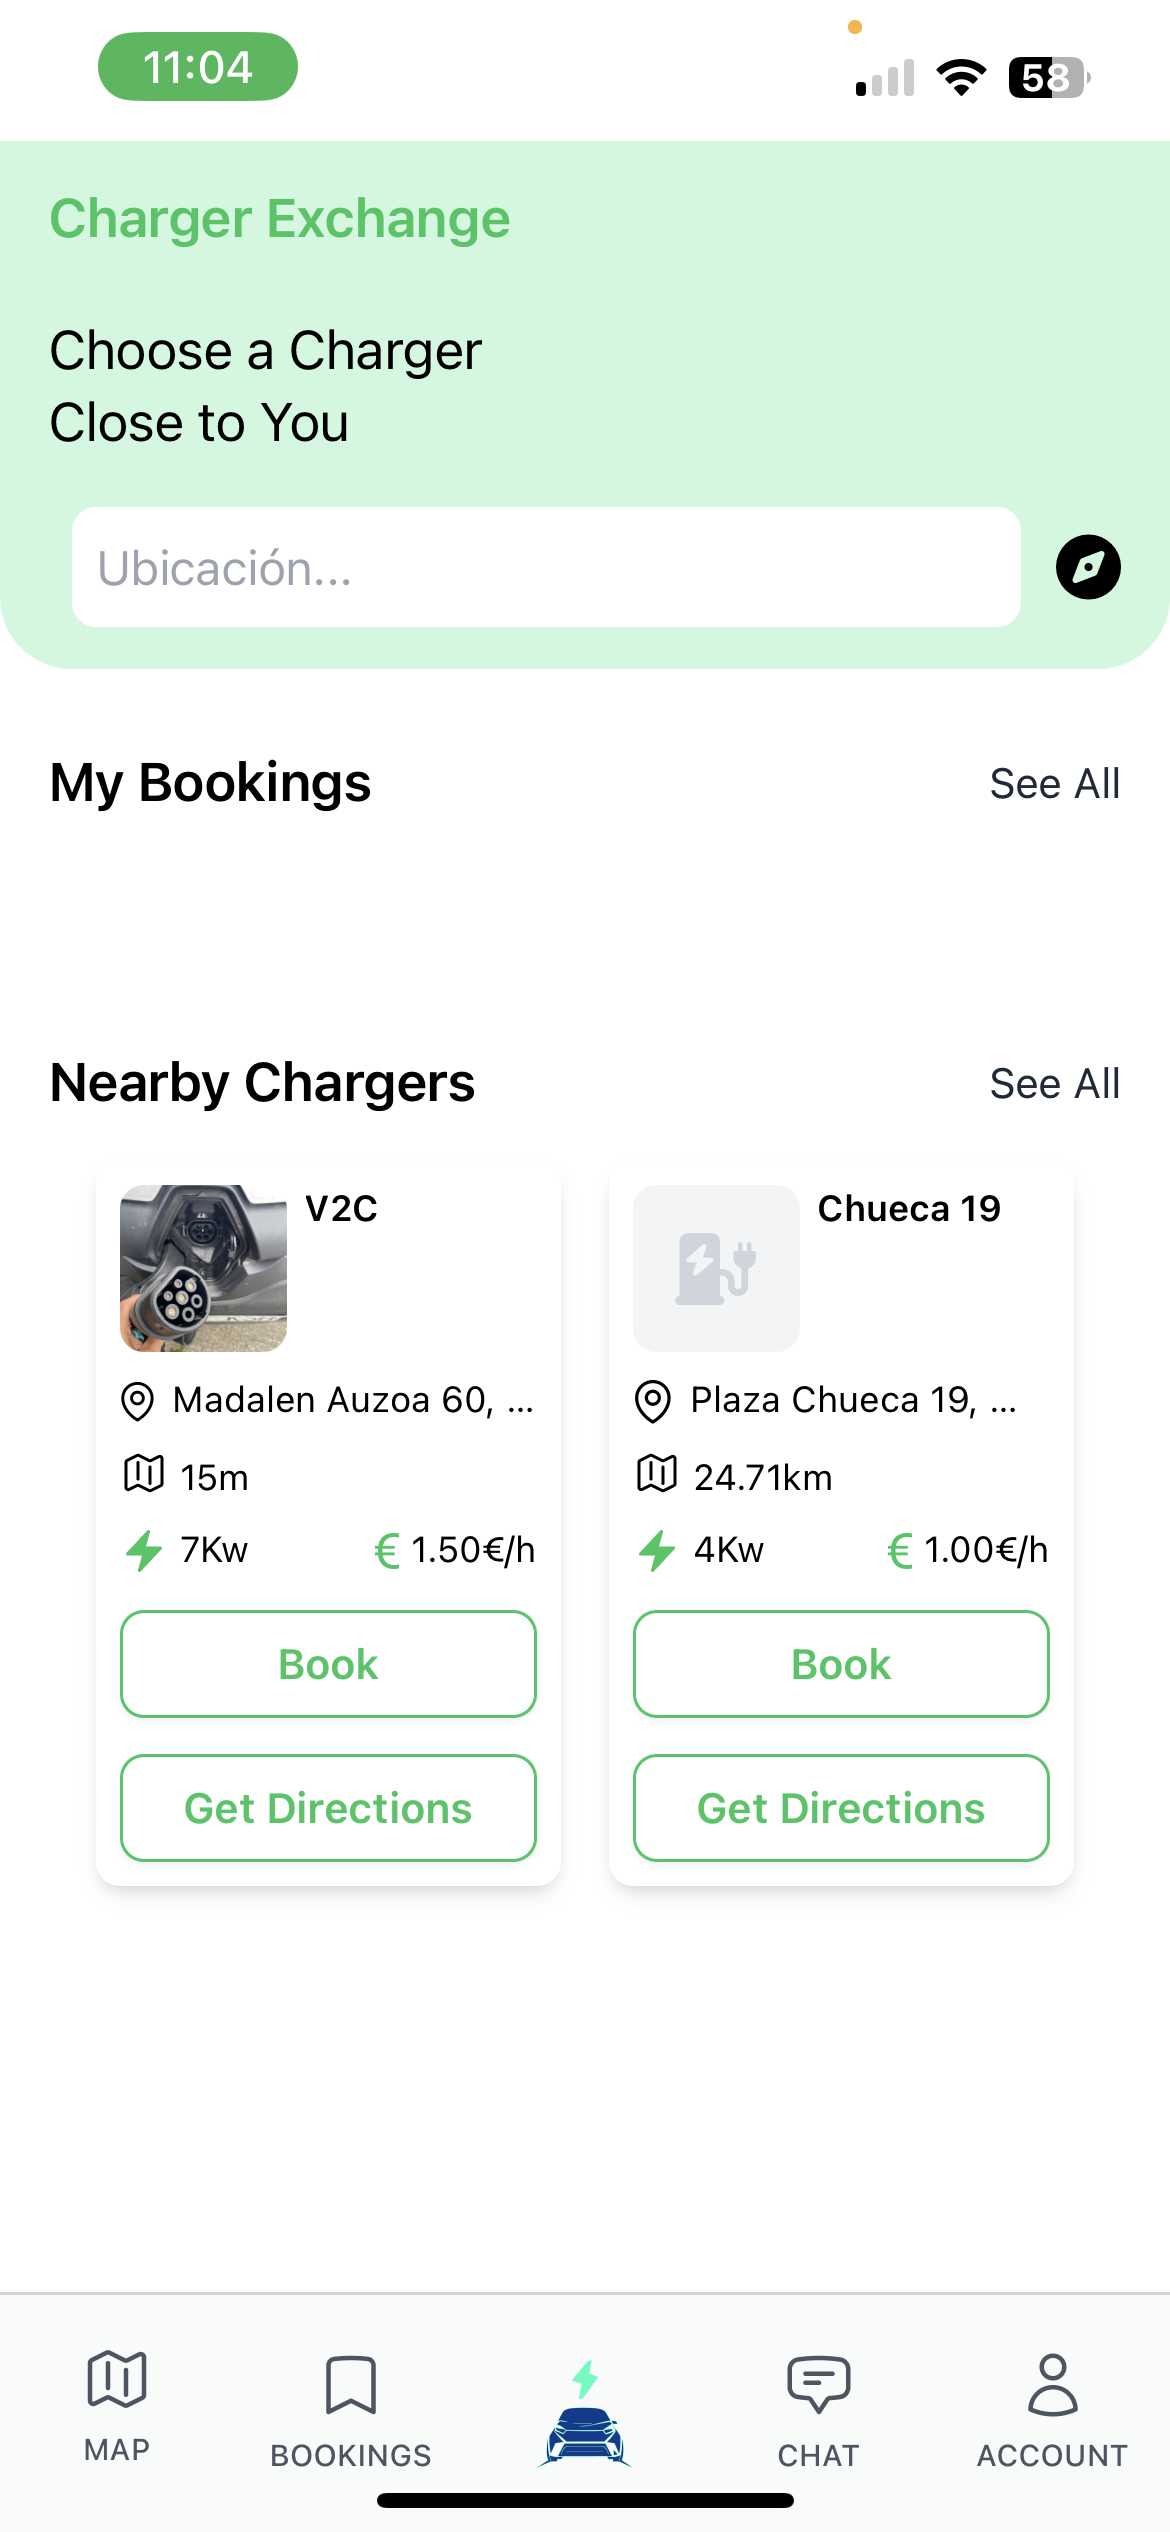
Once you’ve completed registration, you can log in with your email and password. The app will take you back to the home page, where you can search for chargers by “Location” (entering areas or exact address). The same screen will display “My Reservations” (upcoming scheduled reservations, if any), and “Nearby Chargers” based on your current location.
Account and Registration of your charger
In the bottom menu of the app, you’ll find several options: Map, Reservations, Logo (home), Chat, and Account, with their corresponding icons.
If we access “Account” we can use the account functions, payments, chargers, reservations, routes, documentation, etc.:
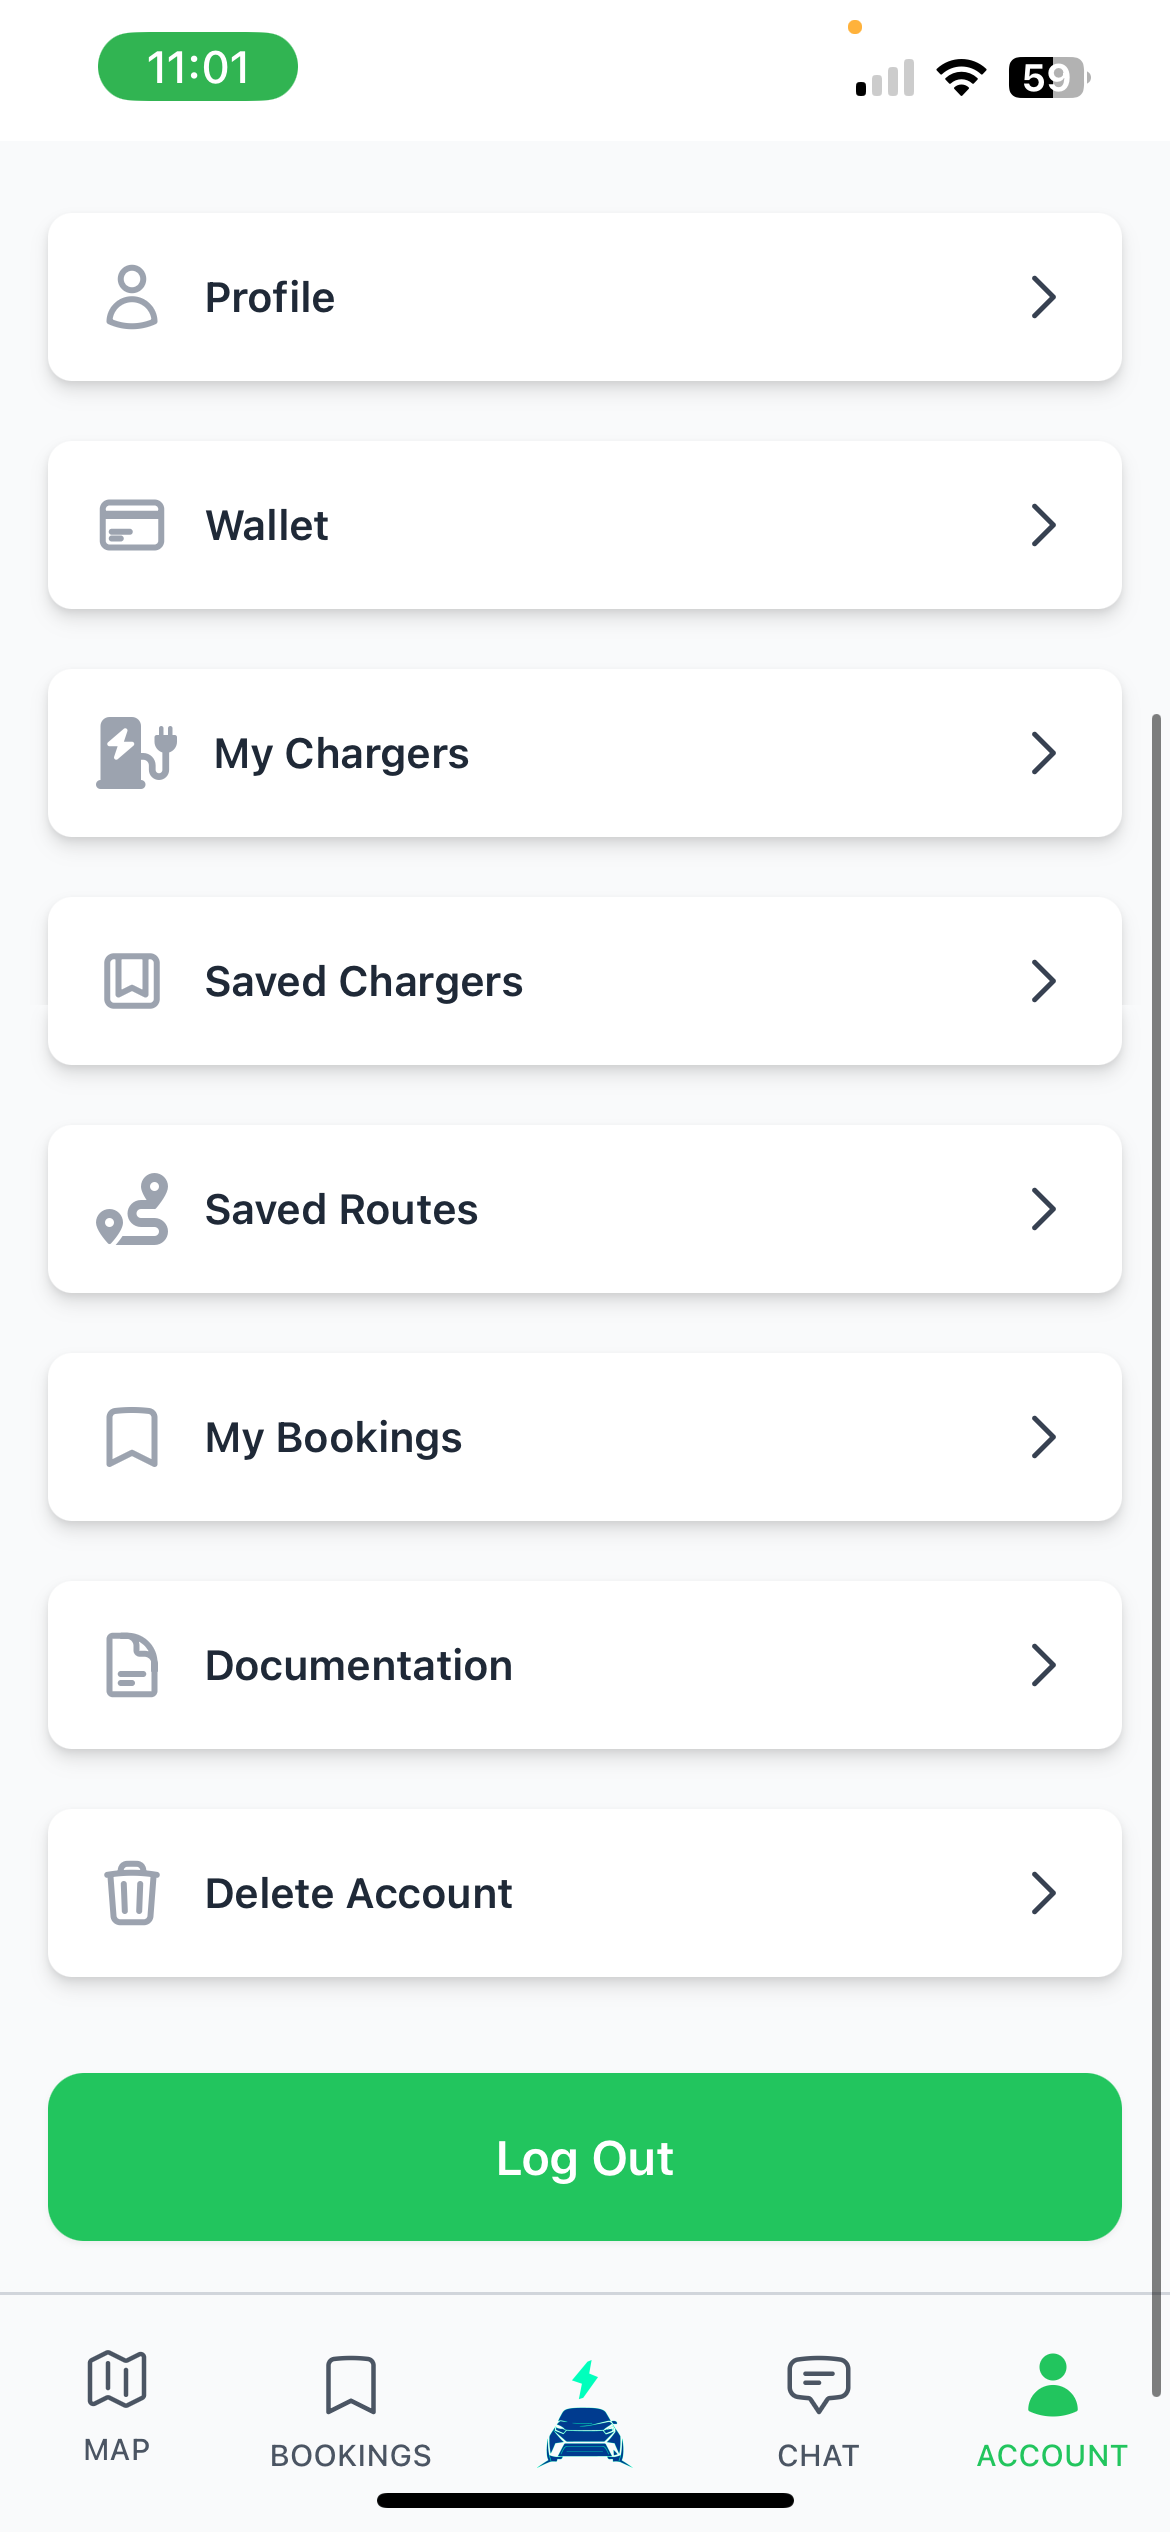
- Profile: Here we can edit our profile, add a photo, change our username, change or add a phone number, and choose the language. We can also change our password.
- Wallet: Here you can link your bank account to receive payments when you rent your charger. To list your charger, you must link your account to the wallet.
- My Chargers: “Register Charger” here you can publish a new charger;
- enter the exact “Location” of your charger,
- give it a “Name,”
- choose the “Connection Type,”
- the “Power” in kWh,
- the “Price per 30-minute slot” (think about how much that energy costs you and add a small profit),
- your “Contact Phone Number” so they can contact you via WhatsApp,
- choose the “Minimum Advance” reservation in minutes (to give you time to get organized before booking),
- then choose the daily “Opening Hours” (Monday to Sunday), the time slots your charger will be available, and finally,
- you can add “Additional Information” so the user knows how to access the charger and what they can do in the area while charging their vehicle.
- Once registered, you can view and edit your list of chargers.
- Saved Chargers: List of all the chargers you’ve saved as favorites. You can “View Details” for each charger and reserve them if you choose.
- Saved Routes: In the “Map” section, you can create routes and save them for later. Here you’ll find all your saved routes and can review them again.
- My Reservations: “In Progress”, upcoming “Booked” and “Completed” reservations.
- Documentation: Terms and Conditions, Privacy Policy, About Us, Contact and Support, Dispute Resolution, Cancellations, and Refunds.
- Delete account: Deletes your account and all your data.
- Sign out: Sign out of your account.
Map
We use Google Maps for the routes and locations of the shippers.
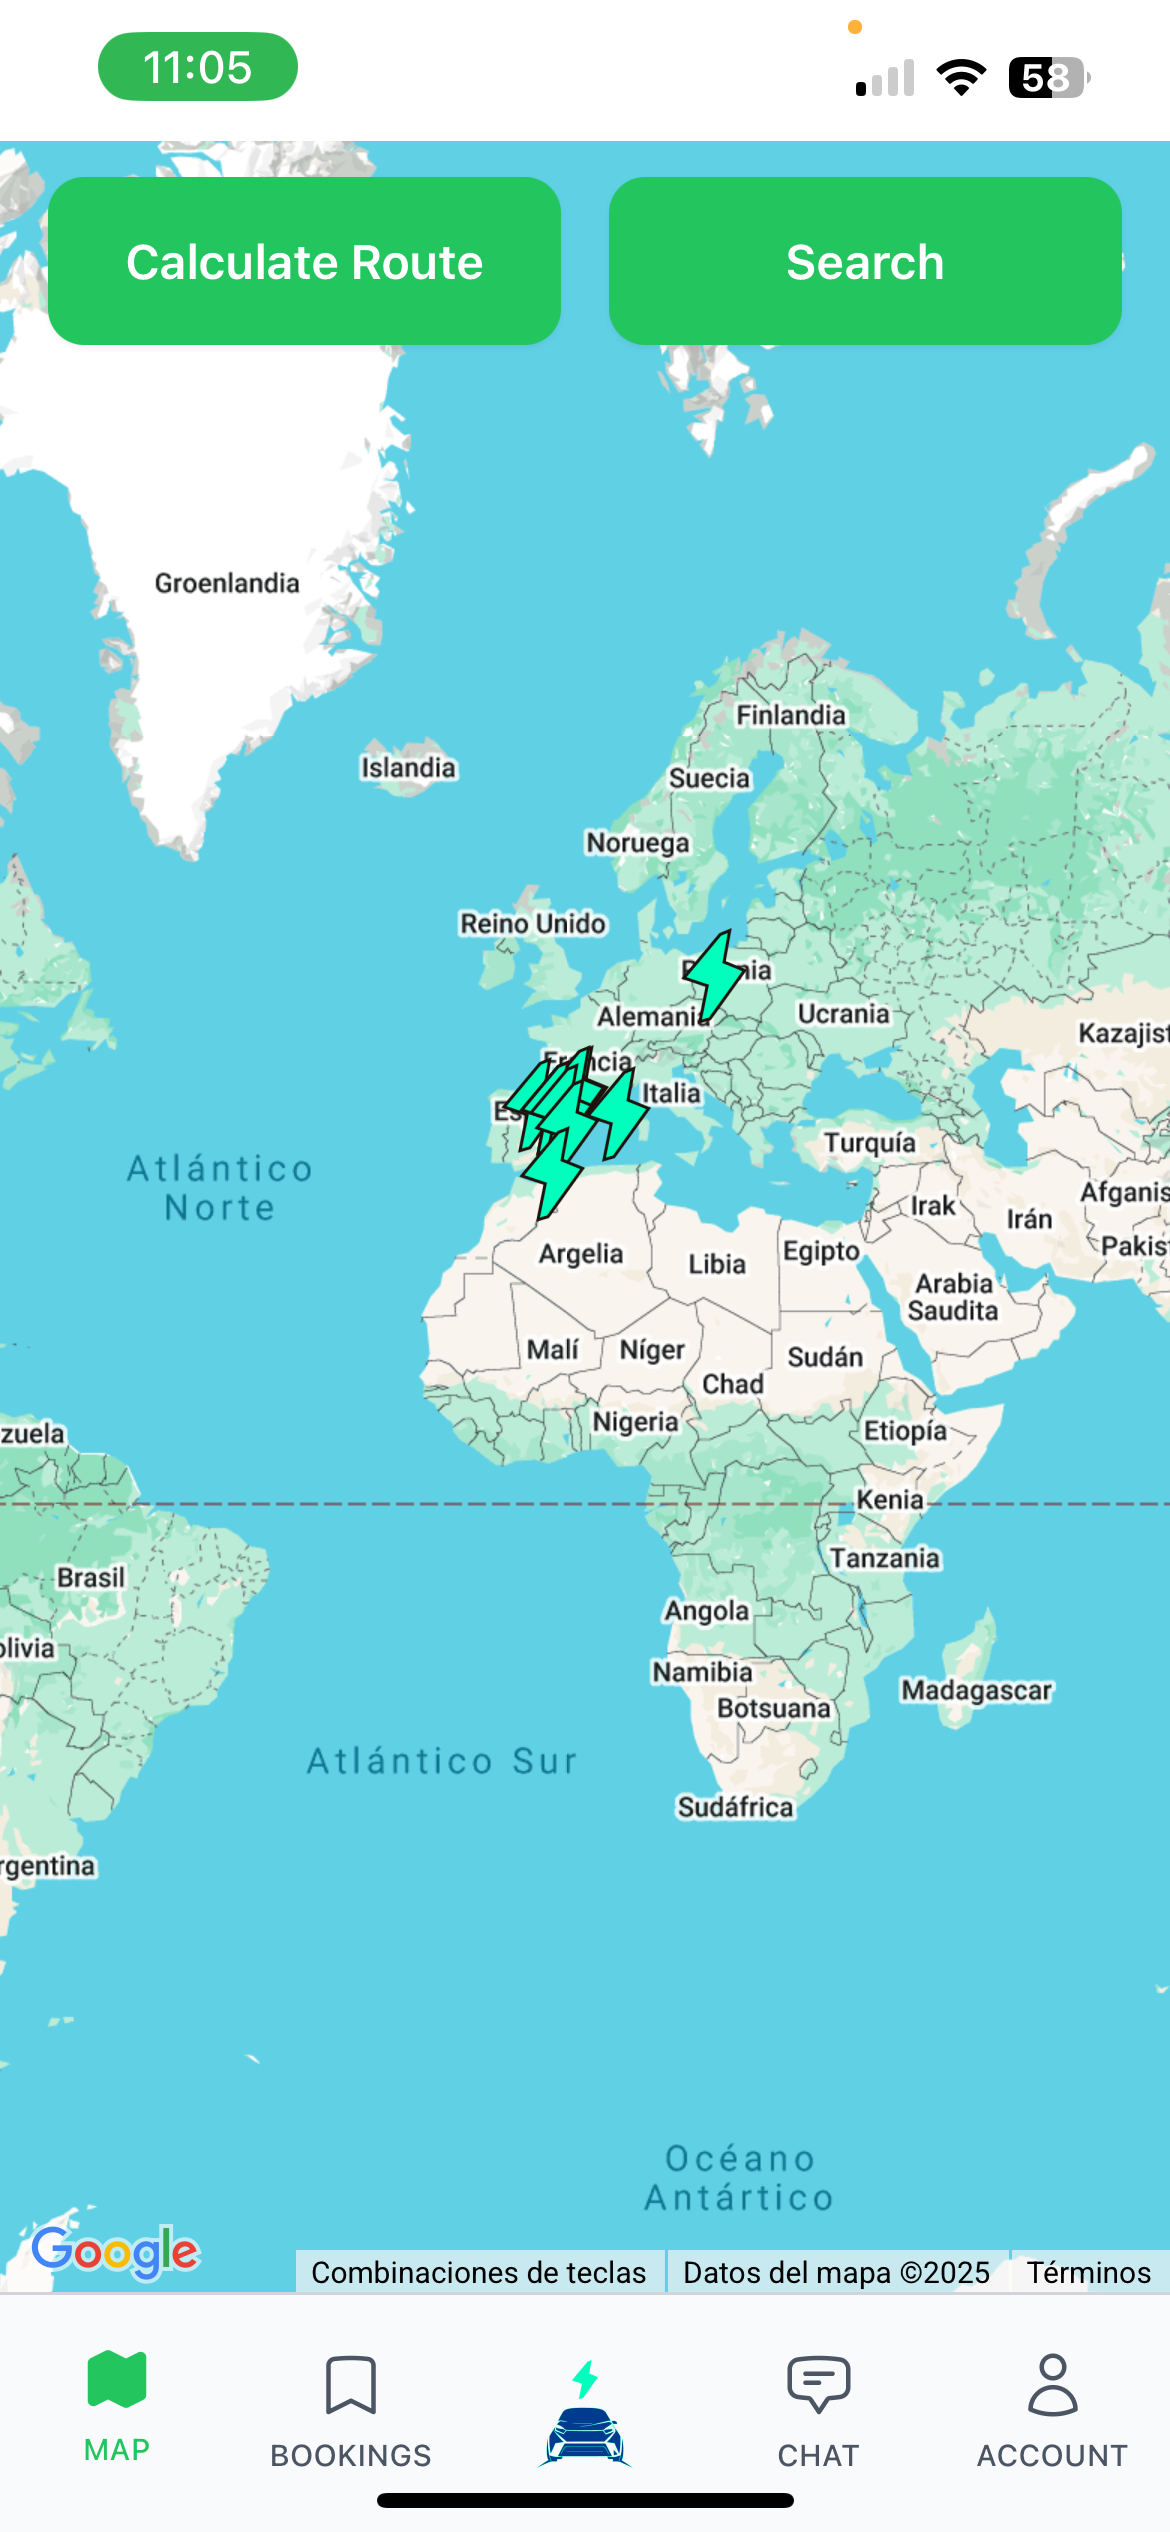
You have two options, “Calculate your route” and “Search”.
Calculate your route
You can calculate a route from a starting point to an ending point, so you know when you need to stop to charge and what available chargers you have along your route.
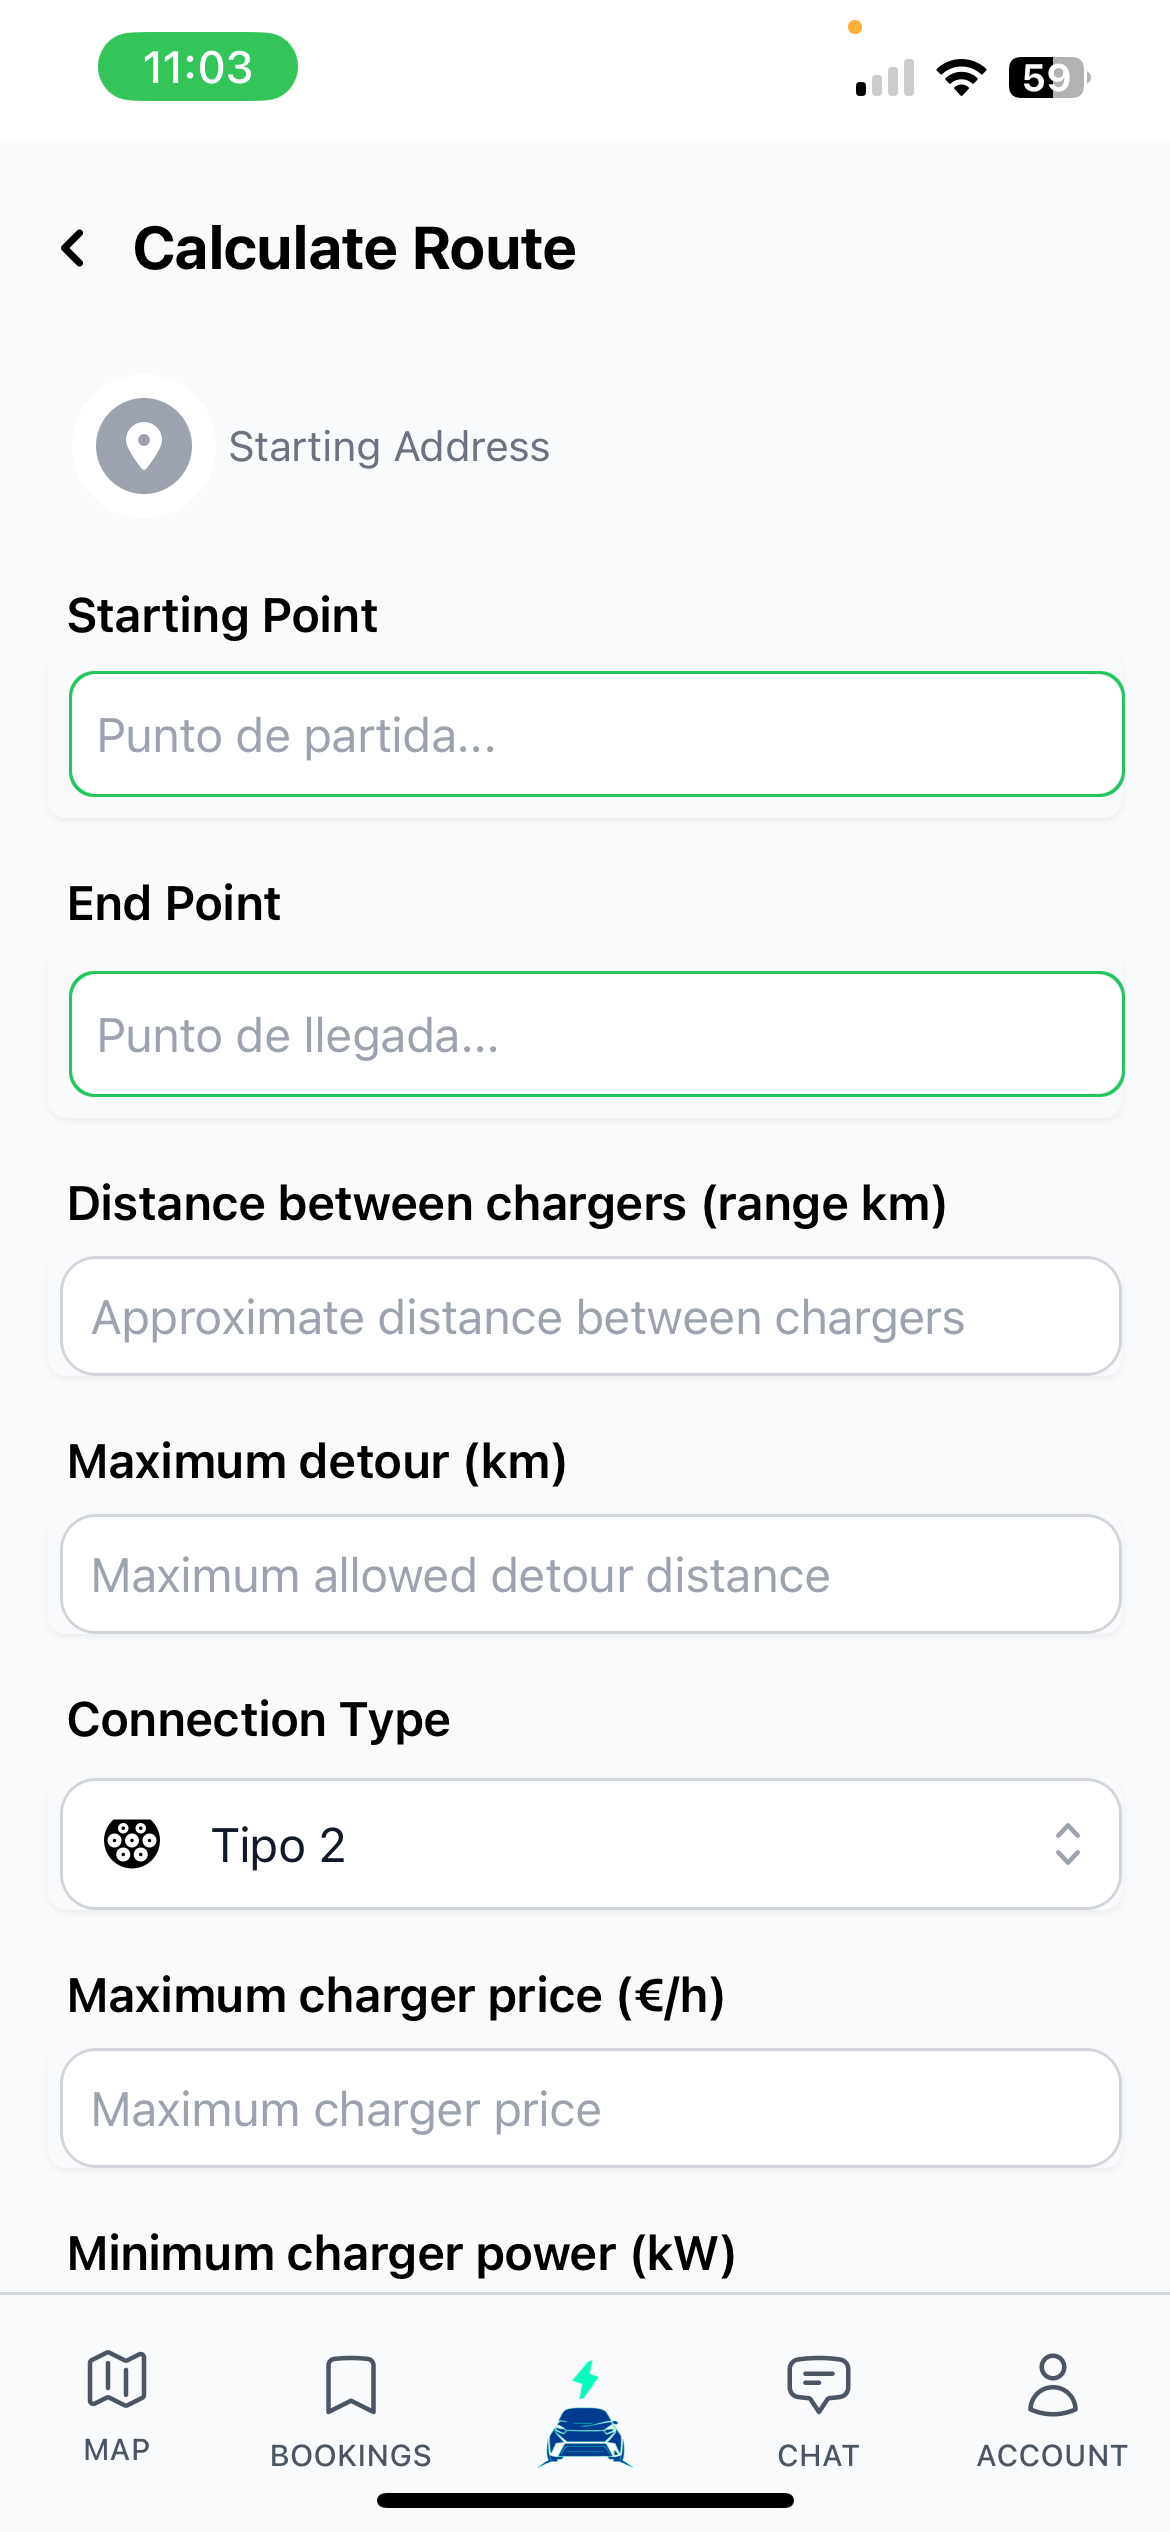
To do this you can use the form:
- Starting point: By default, it will take your current location, but you can enter the exact address you want.
- Arrival point: exact address of your destination.
- Distance between chargers (range in km): here you can choose the distance between charges, or enter your route’s range in kilometers. This way, the app will calculate when you need to stop to charge and what availability there is.
- Maximum route deviation (km): If you wish, you can set a maximum deviation from your route to find available chargers.
- Connection type: Choose the type of connection you want the chargers to have.
- Maximum charger price (€/h): You can set a maximum price for the charger hour.
- Minimum charger power (kwh): You can choose a minimum charger power.
- Calculate route: Once you click the calculate route button, a map will show you your exact route and the necessary stops with available chargers. You can click on the charger to view details and book if you wish. You can also recalculate the route by changing parameters, or “Save route” to return to it whenever you want.
Search
You can search for an exact address, and the app will search for that address and nearby areas.
Below the search bar, a list of the nearest available chargers will be displayed, sorted by distance from your current location.
- Location: Enter the exact location where you want to search for available chargers.
- List of nearby chargers: Chargers will be displayed by proximity.
Book a charger
Once you’ve located the charger you want to reserve, whether en route or at a nearby location, you’ll be able to view the information, choose a time, and reserve. Charger options include:
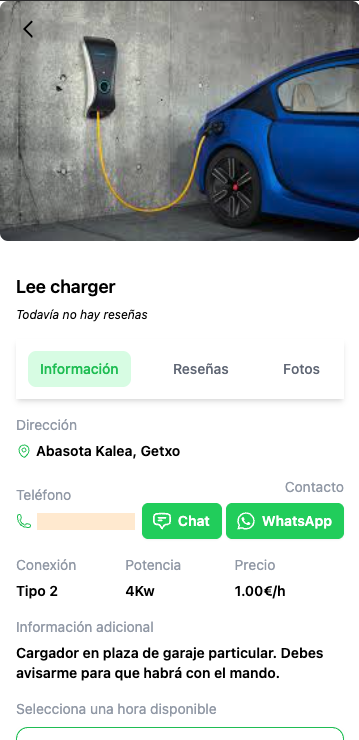
- View details: You’ll be able to see information (address, phone number, chat, WhatsApp, connection type, power in kWh, price in €/h, additional information, and availability by date and time), reviews from other people if any, and photos of the charger if any.
- How to get there: Your device’s map browser will open to guide you to the charger.
- Save: You can save the loader to return to it whenever you want, it will appear in “Account”, “Saved Loaders”.
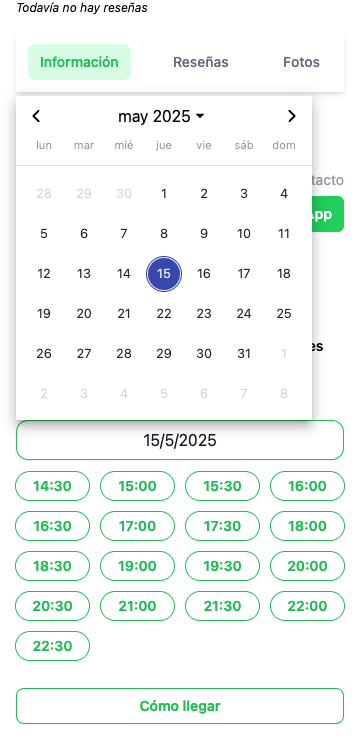
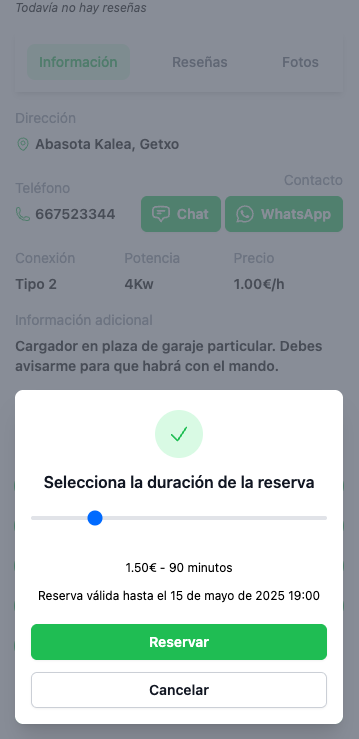
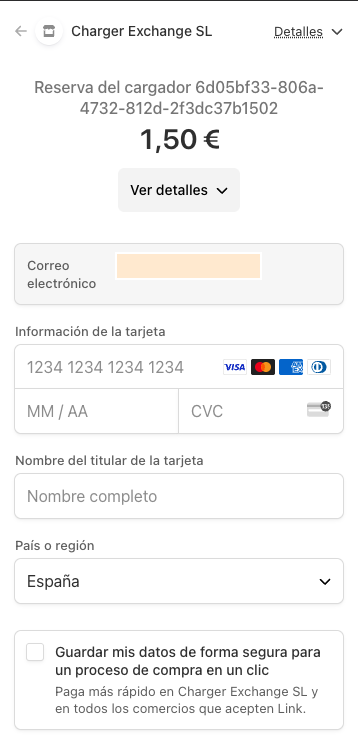
- Booking: To book, you must select a date and time for your chosen charger. You will then be shown the number of minutes you wish to recharge in 30-minute intervals. Click “Book.” This will take you to the secure payment gateway. You must enter your payment details, and once paid, your reservation will be confirmed.
We recommend contacting the charger owner via chat or WhatsApp to discuss arrival details.